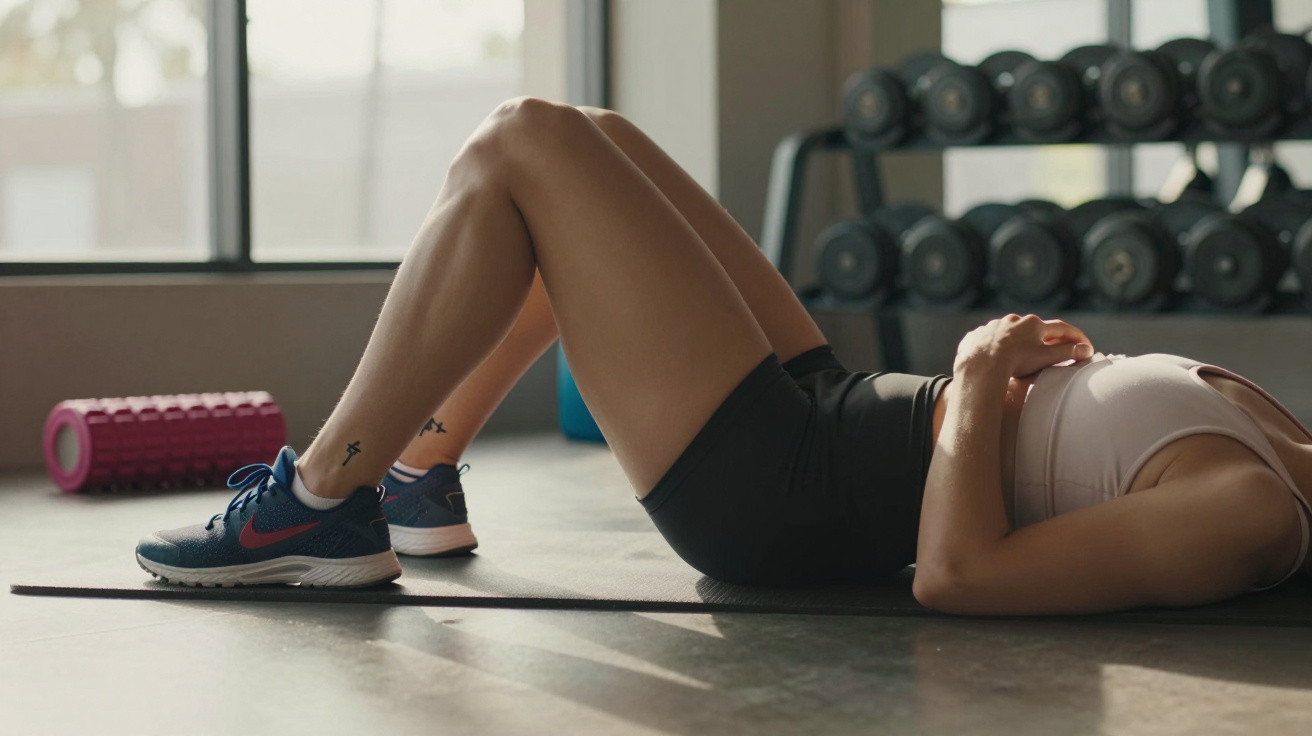
At the front of the mat, a small group is battling through crunches: brows furrowed, eyes fixed on the ceiling as though the answer to a flat stomach might be written there. A trainer moves slowly from mat to mat, saying nothing about repetition counts or breathing. Instead, one instruction keeps returning: “Turn your feet slightly.” A few centimetres, an almost invisible rotation - and several faces tighten at once. Same exercise, completely different intensity. The obliques make themselves known. Very clearly.
Why your foot position during crunches reveals more than you think
We go to the gym, lie down on a mat and perform crunches the way we once learned them. Feet hip-width apart, knees bent, gaze upwards. Job done. Hardly anyone notices that their feet are usually just placed wherever they happen to land. Yet that is where the issue starts: the body chooses the easiest option, while the obliques are often only half awake.
One trainer explained that he can tell from a person’s feet alone whether they are genuinely using their core. Toes turned very slightly outwards, with a little tension through the soles of the feet, can turn an uninspiring crunch into a deeper training stimulus. This minor rotation alters the path of force through your body.
We all know the feeling: “I’m doing everything properly, so why is so little happening?” The plain truth is that the body loves a shortcut. If it can shift the load from the obliques to the hip flexors or neck, it will. This is exactly where foot position matters. When it is neutral and passive, the hip flexors and lower back move up the priority list. Turning your feet slightly inwards or outwards changes the pull through the knees, hips and pelvis - and suddenly the obliques have to contribute more. At first, it can feel unfamiliar, or even “wrong”. In reality, it is often the first honest sign that these muscles are actually working.
The small foot rotation that wakes up your obliques
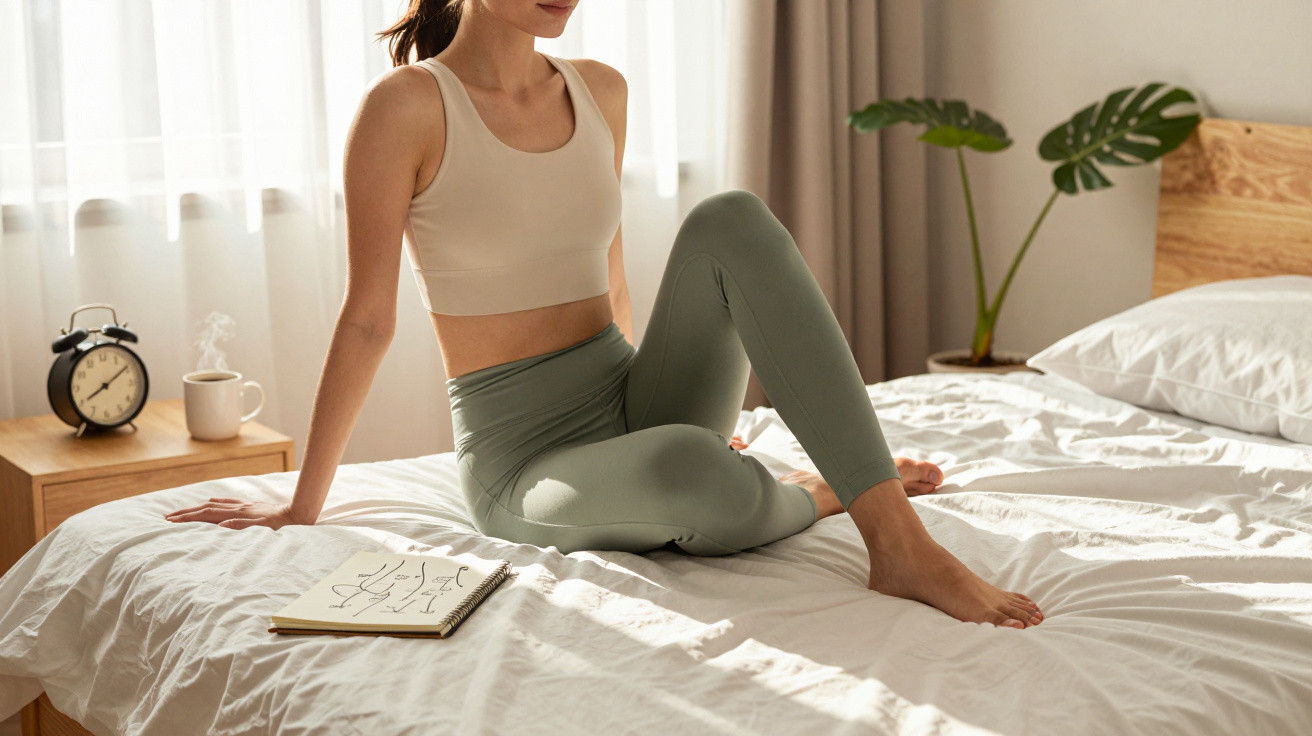
Picture this: you are lying on your back with bent knees and your feet planted. Rather than pointing your toes straight ahead, turn them slightly outwards, perhaps 20–30 degrees. Not like a ballet dancer; more like someone standing in a relaxed but attentive posture. Keep your heels on the floor and spread the pressure across the entire foot, rather than placing it only through the heels.
Now perform the crunch: lift your upper body slightly, bringing your chest towards your knees without pulling on your neck. As you curl up, gently press the outside edges of your feet into the floor. That slight outward pressure switches on the obliques almost like a light switch. Suddenly, you notice a burn at the sides of your abdomen rather than only through the middle. This is precisely the area many people mean when they talk about a “waist”, while continuing to do only standard crunches.
Many people first notice it in a class where the coach demands greater awareness rather than more repetitions. One woman laughed as she said she had trained “for the waist” for a year, but had mainly felt it in her hips. Only when the trainer asked her to turn her feet slightly outwards and gave the instruction, “Pressure through the outer edges - don’t go slack!”, did she have her light-bulb moment. The repetition count stayed the same. The intensity, however, was on a completely different level.
Let’s be honest: nobody enjoys counting to 50 during crunches while also monitoring their breathing, neck, tempo and foot position. Many people simply tick off the time internally until the set is over. The result is that the legs take over, the neck tightens and the abdominals do the bare minimum. Rotating the feet and actively pressing outwards gives you some control back. It requires your body to stop following the most comfortable line and start using the muscles that are supposedly being trained. It is a tiny adjustment that barely shows in the mirror, yet feels like a switch has been flicked in your abdomen.
How to perform crunches correctly - and the mistakes that sabotage the technique
If you want to try it, use three steps. First, lie on your back with your knees at roughly a 90-degree angle and your feet slightly wider than hip-width apart. Second, turn your toes gently outwards, as if your feet were making a shallow V shape. Third, before beginning your first crunch, press the outside edges of your feet into the floor - lightly, without tensing up.
As you curl upwards, breathe out and imagine your breastbone moving towards your knees. Place your hands at your temples or across your chest, never behind your head. Keep the pressure through the outside edges of your feet as you rise. It should not be maximal effort; think of it as a steady, calm background signal. This combination - foot rotation, outward pressure and a controlled crunch - brings the obliques into play far more effectively than the classic everything-straight-ahead crunch.
Mistakes are easy to make here, and they are entirely human. The most common one is turning the feet out while letting the knees collapse or swing fully with them. Then the hips do more work again than the abdominal muscles. A better approach is to keep the knees stable above the feet: do not let them fall inwards or flare outwards. Another classic mistake is coming up too high. A crunch is not a sit-up. As soon as you rise too far, the hip flexors take over and the lower back starts to complain. Keep the movement short, compact and focused.
Many people also underestimate how much breathing can help. Actively breathing out as you curl up allows the abdominal wall to contract more naturally. Ideally, you will feel the muscles at the sides of your waist tightening, almost like a broad belt. If, after a few repetitions, you feel you are “losing” the tension in your feet, pause briefly, reset your position carefully and begin again. Here, quality beats quantity.
“I often tell my clients: before you think about doing more repetitions, first make a habit of placing your feet deliberately. The obliques respond extremely sensitively to small changes in the lower body.” – Gym trainer Laura K.
- Turn your toes 20–30 degrees outwards – a small angle with a major effect on oblique activation.
- Maintain steady pressure through the outside edges of your feet - do not force it, but “breathe into the floor” evenly.
- Keep the crunch small and controlled - prioritise quality rather than heroic repetition counts.
What this small adjustment could mean for your body over time
At first, such a detailed adjustment can sound almost ridiculously minor. A few degrees of foot rotation and a touch more outward pressure - can that truly create a visible difference? People who train this way consistently for several weeks often describe two things: first, a clearer awareness of the line of their obliques; second, fewer accompanying aches in the neck and hips.
The obliques are not simply decoration for selfies. They stabilise your core during every twist, step and lift. When you involve them more effectively in basic exercises such as crunches, other movements can benefit too: rotational exercises, planks and even your running form. Many people report feeling more “upright” in daily life, as though something invisible is supporting their core.
We are used to hoping for major changes: a new programme, new equipment, a new challenge. Yet it is often these quiet corrections that divide years of training into “I can’t feel anything” and “something is finally happening”. The next time you do a crunch, perhaps think not only about the repetition, but also about contact with the floor, your toes and that understated V shape made by your feet. Use your foot position to tell your abdomen that it is genuinely its turn to work.
| Key point | Detail | Benefit for the reader |
|---|---|---|
| Outward foot rotation | Toes slightly in a V shape, around 20–30 degrees | Greater oblique activation during crunches |
| Pressure through the outside edges of the feet | Gentle, continuous pressure into the floor throughout the movement | Helps prevent the hip flexors from taking over and protects the lower back |
| Small, controlled crunch movement | Chest towards knees, without turning it into a sit-up; use breathing guidance | Better muscle awareness and less neck and hip tension |



Comments
No comments yet. Be the first to comment!
Leave a Comment