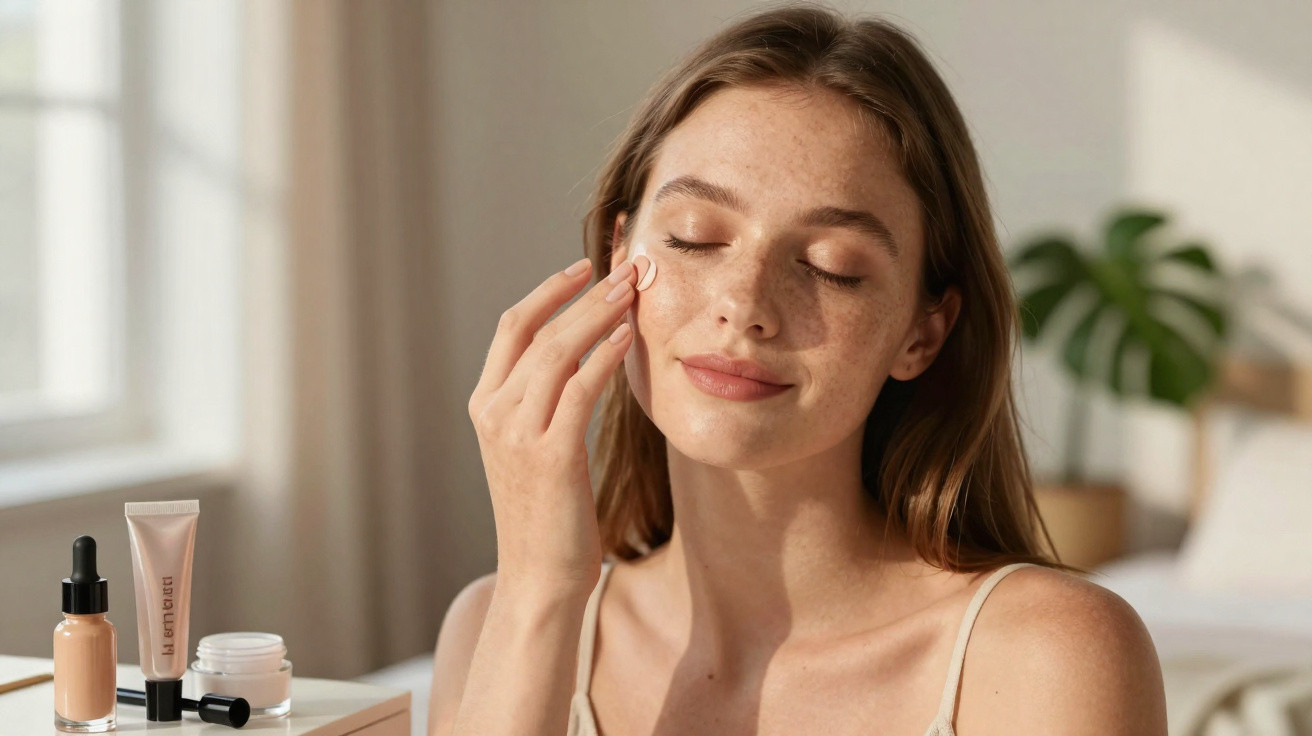
The answer is seldom found in a weighty bottle of foundation.
Away from the spotlight, professional makeup artists use understated methods that alter the way skin reflects light, rather than concealing it. One low-key technique is now moving from studio sets into everyday beauty routines, offering a more luminous, balanced-looking complexion without piling on base products.
The backstage move away from heavy base makeup
Foundation once functioned as armour on film sets. Dense formulas could obscure every pore, yet this approach appears old-fashioned beneath 4K cameras. High-definition lenses magnify caked-on patches, product that has settled, and even the smallest flakes of dry skin.
As a result, many makeup artists working on set have revised their approach. Rather than constructing a mask, they work with skin as though it were a light-reflecting surface, using fine, deliberate layers to adjust radiance, shadow and colour. The aim is not a perfectly smooth mannequin-like face, but skin that can move and crease while continuing to look healthy from every viewpoint.
Modern screen makeup cares less about covering flaws and more about redirecting light so skin appears naturally alive.
This way of thinking has led to a technique that translates remarkably well to daily life: a foundation-free, highlight-first routine that defines and illuminates the face without conventional foundation.
The easy technique: highlighter first, skin tint second
Although the order may seem counterintuitive, it is precisely why the technique works. In place of beginning with an even coating of foundation, artists map light across bare, moisturised skin first.
Step 1: Prepare skin like a skincare devotee
This method does not perform well on dehydrated skin, making preparation essential. Before an actor even sits down for makeup, on-set teams frequently carry out a brief facial treatment.
- Cleanse gently to lift away sweat, pollution and leftover product.
- Spray on a hydrating mist for immediate plumping.
- Work in a light, non-greasy moisturiser.
- Use a single drop of face oil solely on areas that feel dry and tight.
This short preparation step evens the skin’s surface, allowing makeup to spread and adhere smoothly instead of catching on dry areas. Artists also commonly press balm or a richer cream into expression lines to prevent product from settling there later.
Step 2: Apply a discreet liquid highlighter to bare skin
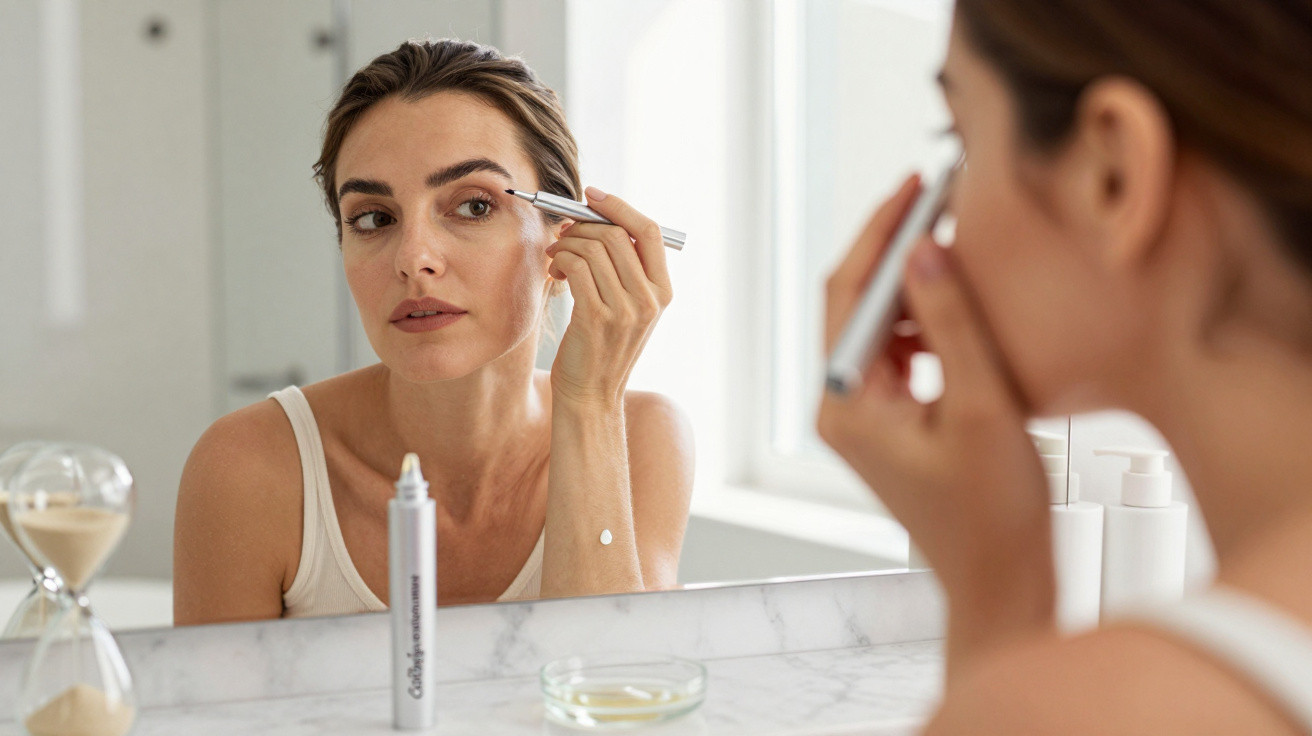
This is the defining step. Rather than picking up concealer or foundation, artists put a sheer liquid highlighter directly onto skin that is clean and prepared.
Such formulas generally rely on fine, refined pigments instead of obvious sparkle. The effect should be glow, not glitter. With fingertips or a small brush, they apply small dots to selected areas:
- the high points of the cheekbones
- the bridge of the nose, rather than its tip
- the cupid’s bow above the lips
- the centre of the forehead, using very little
- the inner corners of the eyes
Light goes where the highlighter sits, so placing it first sets the blueprint for a brighter, lifted face.
As the skin remains visible beneath it, the radiance appears to come from the complexion itself rather than from makeup. Artists often diffuse the outer edges into moisturiser, avoiding any distinct line where the product begins or ends.
Step 3: Use sheer tint only where it is needed
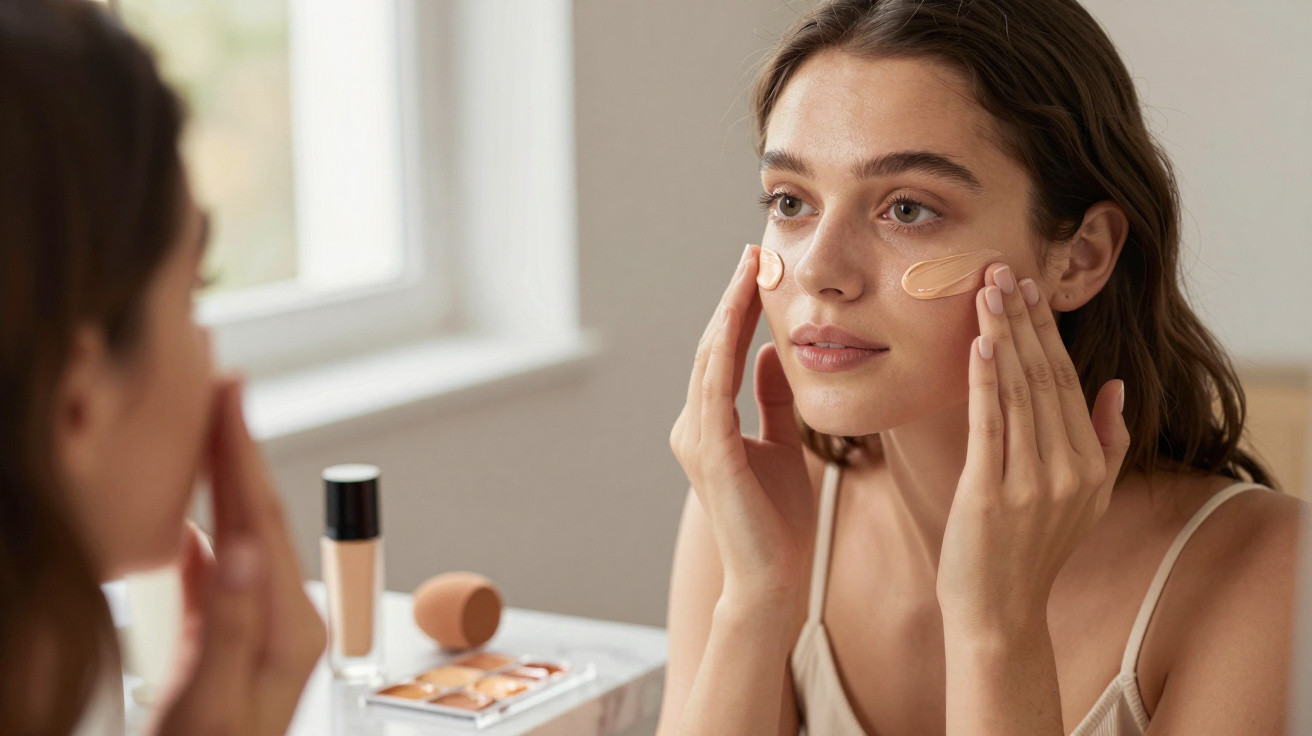
Once the glow has been positioned, they introduce light coverage. Rather than applying foundation across the whole face, most on-set professionals load a fluffy brush with a very sheer skin tint or serum foundation. They then buff a minimal amount only into areas where the skin tone varies most noticeably.
| Area | Product type | Technique |
|---|---|---|
| Sides of the nose | Sheer tint | Buff in tiny circles to reduce redness |
| Centre of cheeks | Lightweight liquid concealer | Tap with fingertip to blur marks |
| Under-eye zone | Brightening corrector | Place near the tear duct, blend outward |
| Jawline | Almost no product | Use leftover on the brush to keep edges soft |
As the highlighter is underneath, the sheer tint does not eliminate its radiance. Instead, it refines the overall appearance, much like correcting exposure rather than applying a filter.
Why this highlight-first technique looks fresh on camera
Set lighting can be unforgiving. Overhead fluorescent lights, ring lights, direct sunlight and LED panels reveal every pore and uneven ridge. The highlight-first technique works alongside these conditions instead of attempting to battle them.
When glow is placed on the facial high points at the outset, makeup artists can manage how intense light reflects back. Shadows appear gentler, while texture seems less pronounced, even if an actor moves around or starts to perspire slightly.
Where traditional foundation tries to hide skin, this method lets skin tell the story while makeup edits the lighting.
It also tends to hold up better throughout the day. A substantial base can separate around the mouth and nose. With this routine, less product means less material that can crack, wear away or collect in fine lines. Retouching remains minimal: blot excess shine with a tissue, add concealer to a fresh blemish and, if needed, sweep on a little more highlighter.
Adapting the professional trick for different skin types
Oily and combination skin
Those with oilier complexions may be wary of cream highlighters. On set, artists address this by adjusting the products that support the glow rather than leaving highlighter out altogether.
- Apply a gel or water-based moisturiser across the T-zone.
- Pick a liquid highlighter described as “natural” or “satin”, rather than “dewy.”
- Use translucent setting powder only at the sides of the nose and on the chin.
- Keep the very tops of the cheekbones free of powder so light can reach them.
This makes the radiance appear intentional rather than oily. It also stops powder from muting the illuminated areas that provide shape to the face.
Dry or mature skin
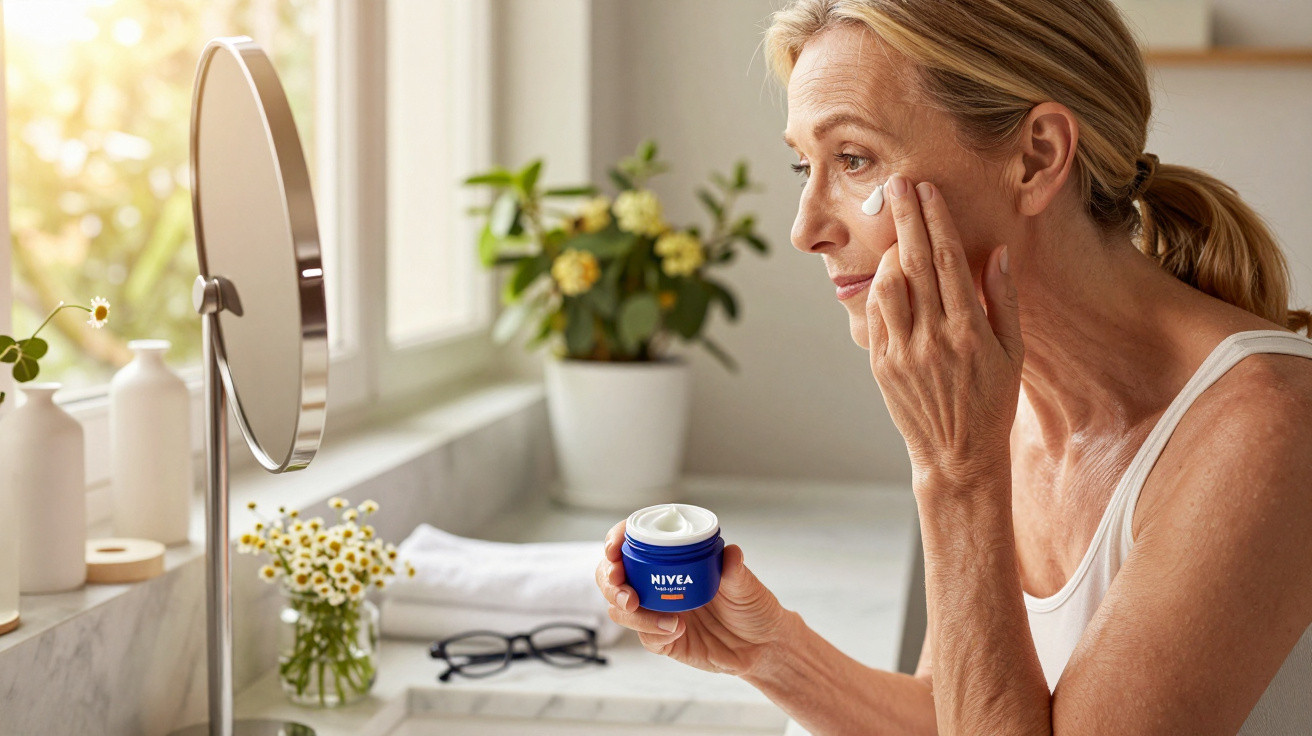
For older actors and people with very dry complexions, a base-heavy application can make the face look older on camera. The highlight-first method supports softness and natural movement instead.
Artists typically blend a drop of facial oil into the highlighter to create a balm-like consistency, before taking extra care to blend around expression lines. Coverage remains highly localised: a small amount of corrector on dark marks, rather than a broad layer extending from the hairline to the jaw.
This technique works with natural lines rather than attempting to remove them. On camera, the finish looks rested and moisturised instead of “heavily made up for the role.”
Selecting the right products at home
You do not require a professional makeup kit to follow this principle. A handful of considered product choices can recreate the look on an ordinary morning.
- A sheer liquid highlighter close to your own skin tone, with a delicate sheen.
- A skin tint or exceptionally light foundation suited to your undertone.
- A creamy concealer reserved for targeted correction.
- A soft brush or damp sponge to blend the edges.
Avoid thick, full-coverage formulas for this routine, because they can bury the glow you placed so carefully underneath.
The wording on product packaging can be difficult to interpret, so prioritise the texture. If a formula feels thick when rubbed between your fingers, it may be unsuitable for this method. Fine liquids with an almost serum-like consistency generally blend more readily into skin and look more believable in daylight.
Additional benefits: time, skin health and psychological impact
The benefits of this backstage technique extend beyond its appearance: it can subtly affect both the time spent getting ready and the way skin responds over several months. Wearing less base each day makes evening removal less abrasive. You need to scrub less, which can help sensitive or reactive skin that is prone to redness.
Dermatologists frequently caution that aggressive cleansing performed repeatedly may damage the skin barrier. A routine based on light layers, strategic radiance and precise concealing generally encourages gentler cleansing, fewer spots linked to blocked pores, and a calmer-looking complexion between makeup days.
There is a psychological element as well. Many performers say that they feel more recognisably themselves on camera when their actual skin is still visible beneath the lights. A similar response is often seen in everyday settings. After moving from heavy coverage to this technique, people describe reduced “face nakedness” anxiety when leaving home without a full face of makeup.
Colour theory offers another perspective. Focusing on illuminating crucial planes rather than covering the entire face allows natural undertones to show through. The finish therefore stays closer to your real colouring, which can make the tones of clothing, hair and even teeth appear more harmonious than they do against a dense, flat layer of foundation.
For anyone trying the method, a straightforward comparison can be useful. On one day, complete your normal full-coverage makeup routine and photograph your face beside a window. Repeat this the following day with the highlight-first, minimal-base technique. Looking at both photographs side by side in identical lighting often shows which method truly flatters your features best, beyond familiar habits and outdated rules.











Comments
No comments yet. Be the first to comment!
Leave a Comment